Overview of the Project
Sharing this make bring me so much happiness! I have never felt so happy in a make since i’d started sewing. (nor have i received more compliments on a make while wearing it out). I’ll share my experience sewing the Peppermint Magazine Somer Swing Dress pattern. Even though i primarilyy gravitate to vintage patterns (more on that in another post) i do dabble here and there in more modern patterns if i really love the style lines and shape of the pattern. If it is one thing that i love it is to be different.
This pattern absolutely does not call for knit fabric. However, you’ll start to realize throughout my future posts that i can be stubborn :). I like to go against the grain. I think in general, and it was not surprising that i decided to use knit even though it wasn’t recommended.
This sewing pattern offered a classic design that’s perfect for special or casual occasions. I’ll walk you through my process, from selecting fabric to final touches, and provide an honest review of the pattern.
Pattern Details
- Pattern Name/Number: Somer Swing Dress
- Pattern Brand: Peppermint Magazine
- Pattern Type: Dress
- Skill Level: Confident Beginner
- Size Range: A-J
- Fabric Suggestions: Linen, Satin, Cotton, Chiffon
- Notions Required: Cord or Ribbon
Fabric Choice
So, i have already made this dress before in an Ankara print fabric. But once i envision something i will more than likely try to execute it. No matter if that pattern says otherwise. I do this for two reasons. I like to let fabrics guide me. Obviously if it doesnt work out thats on me. However, additionally, I like to push the limits of my imagination and patterns in general.
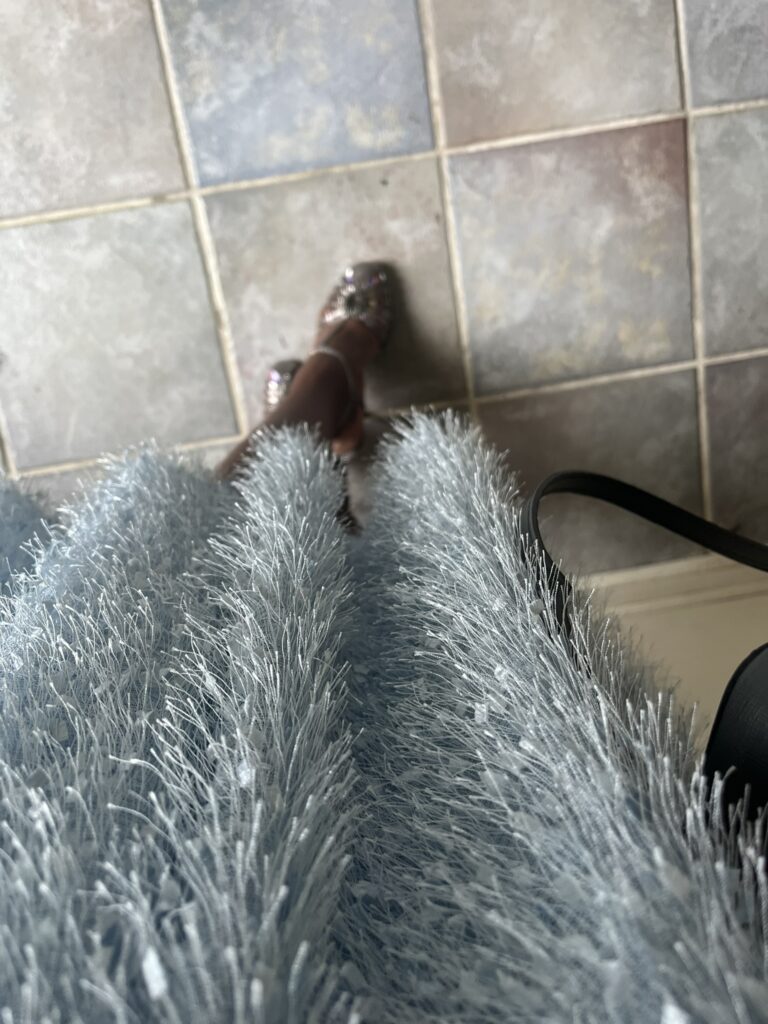
For this project, I chose a Baby blu eyelash knit by Cali Fabrics . While i was taking a very big risk making this pattern with this fabric i knew i needed to see how it would turn out before i gave up lol. I found that this fabric paired perfectly with the design. The only thing i did because i was using a knit was to sandwich seam binding ribbon between the main knit fabric and the lining fabric to account for the weight of the dress to to add stability.
Sewing Process & Adjustments
I am not going to lie to you, cutting this fabric was slightly chaotic. After cutting out the pattern i was left with a floor covered in sparkles. I am all for sparkles. But cleaning it up was absolutely a task. (I don’t regret it one bit).
Other than this, this pattern was so easy to sew. I would absolutely recommend this pattern to beginners to advanced sewists. I didn’t make any adjustments to the fit, decide adding seam binding as mentioned earlier, which gave the final piece a more stable seam while sewing.

Fit & Final Thoughts
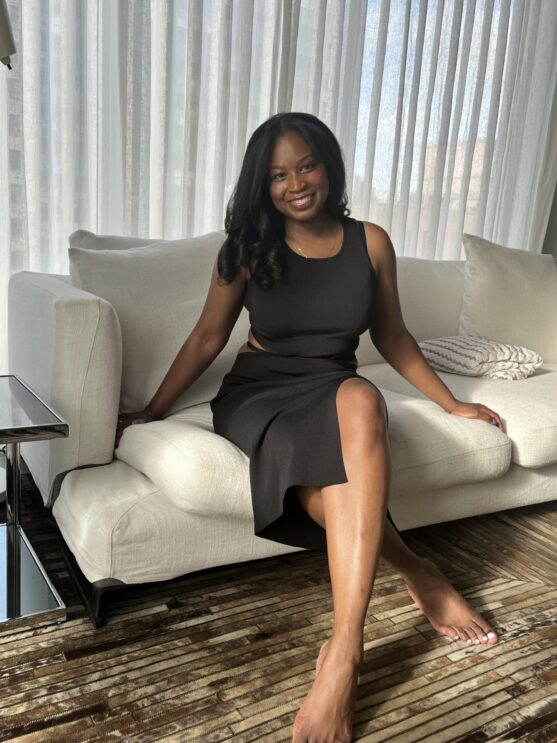
After finishing, I was absolutely estactic with how the dress fit! The neckline fits exactly as I’d hoped, and I can see myself wearing this to just about anywhere (i say overdress always). The pattern was also a breeze to cut out and didnt wreck havoc on my back for once. So i was extremely happy about this. Overall, I would recommend this pattern to all skill level sewists.
Tips for Sewing this Pattern
If you’re planning to tackle this pattern, here is what i say:
- Tip #1: Don’t let fabric recommendations limit your creativity.
- Tip #2: Absolutely use seam binding ribbon if you use a knit fabric.
Would I Sew This Again?
Would I sew this Pattern again? Absolutely! This was actually my second time sewing up this pattern. It’s a fun projects and perfect for all skill levels. I’m already thinking about another, but time will tell. Let me know in the comments if you’ve tried this pattern or if you’re considering giving it a go!
- Follow me on Instagram (@SewnbyTami) for more sewing inspiration!
- Check back for more pattern reviews.
- Sign up for my newsletter!
